
 Illustrative concept
OriginalDesign concept
01 / 07
Change a Photo Background Online with AI
Replace a distracting background with a clean white, studio, or lifestyle setting.
Explore pageA new background, a quieter scene, a more natural portrait, or a cleaner product image. Pick the outcome you need, then shape the instruction around your original photo.
Your photo is uploaded when you start the edit. Review the result before sharing.
Original photoEdited photoChoose a photo on the left. Your original and edited result will appear here.
Illustrative conceptReplace a distracting background with a clean white, studio, or lifestyle setting.
Explore page Illustrative concept
Clean up people, clutter, text, and small distractions while protecting the main subject.
Explore page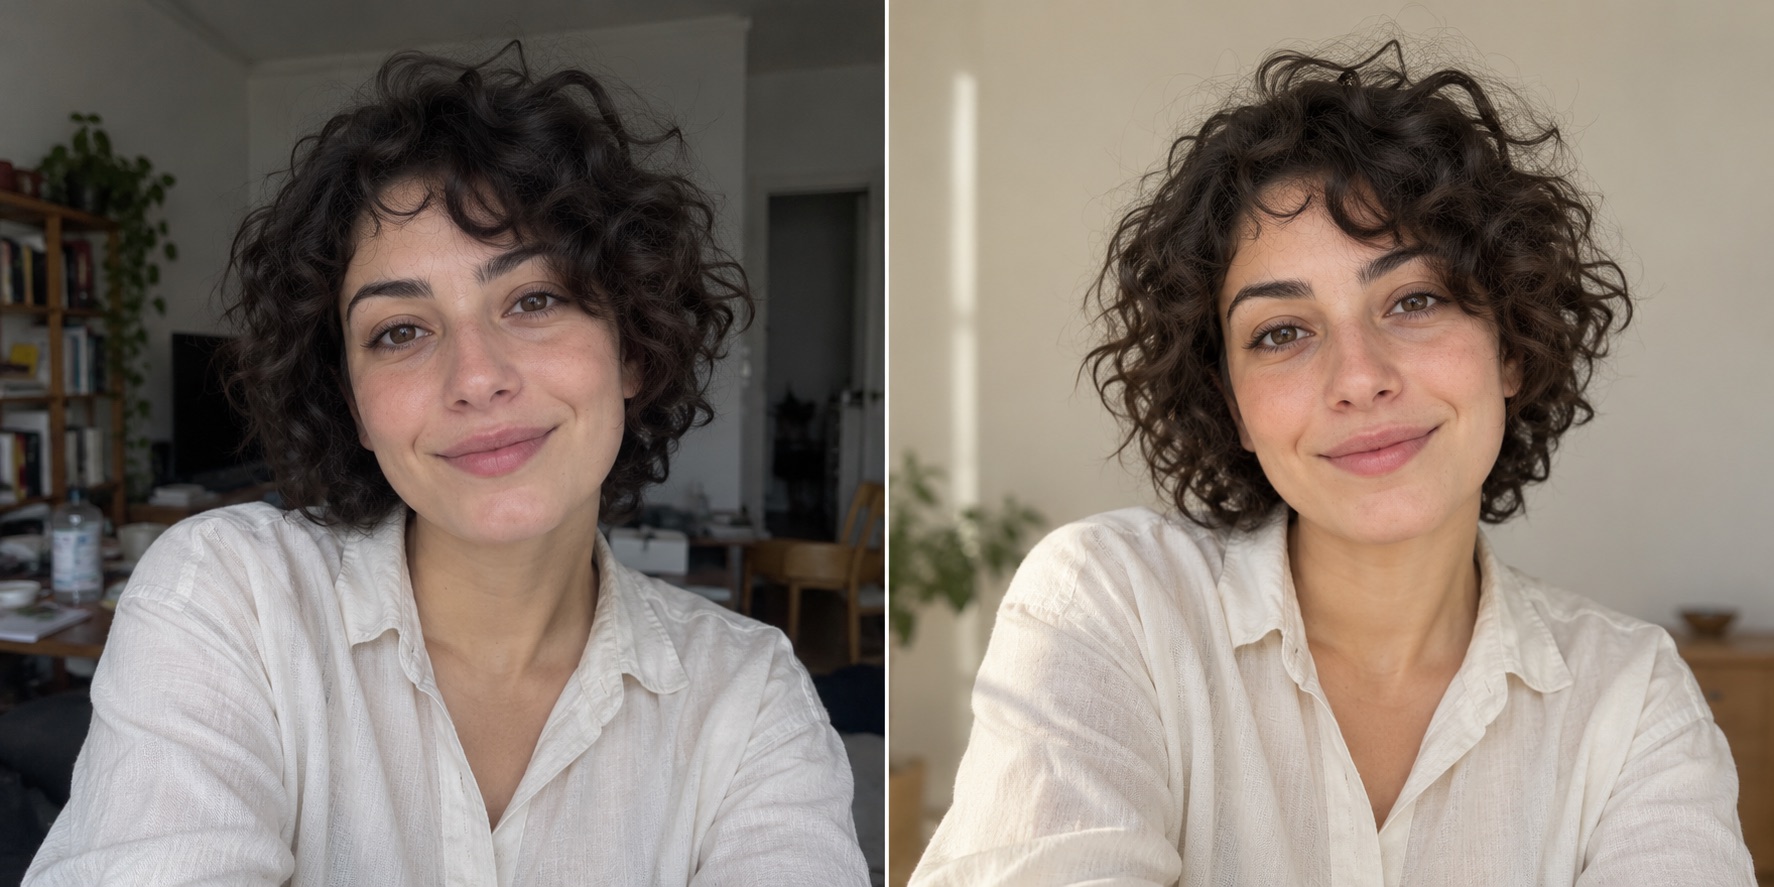 Illustrative concept
Improve portrait lighting, color, and visible detail while keeping the person recognizable.
Explore pageIllustrative conceptBuild white-background, studio, or lifestyle product images while checking every selling detail.
Explore page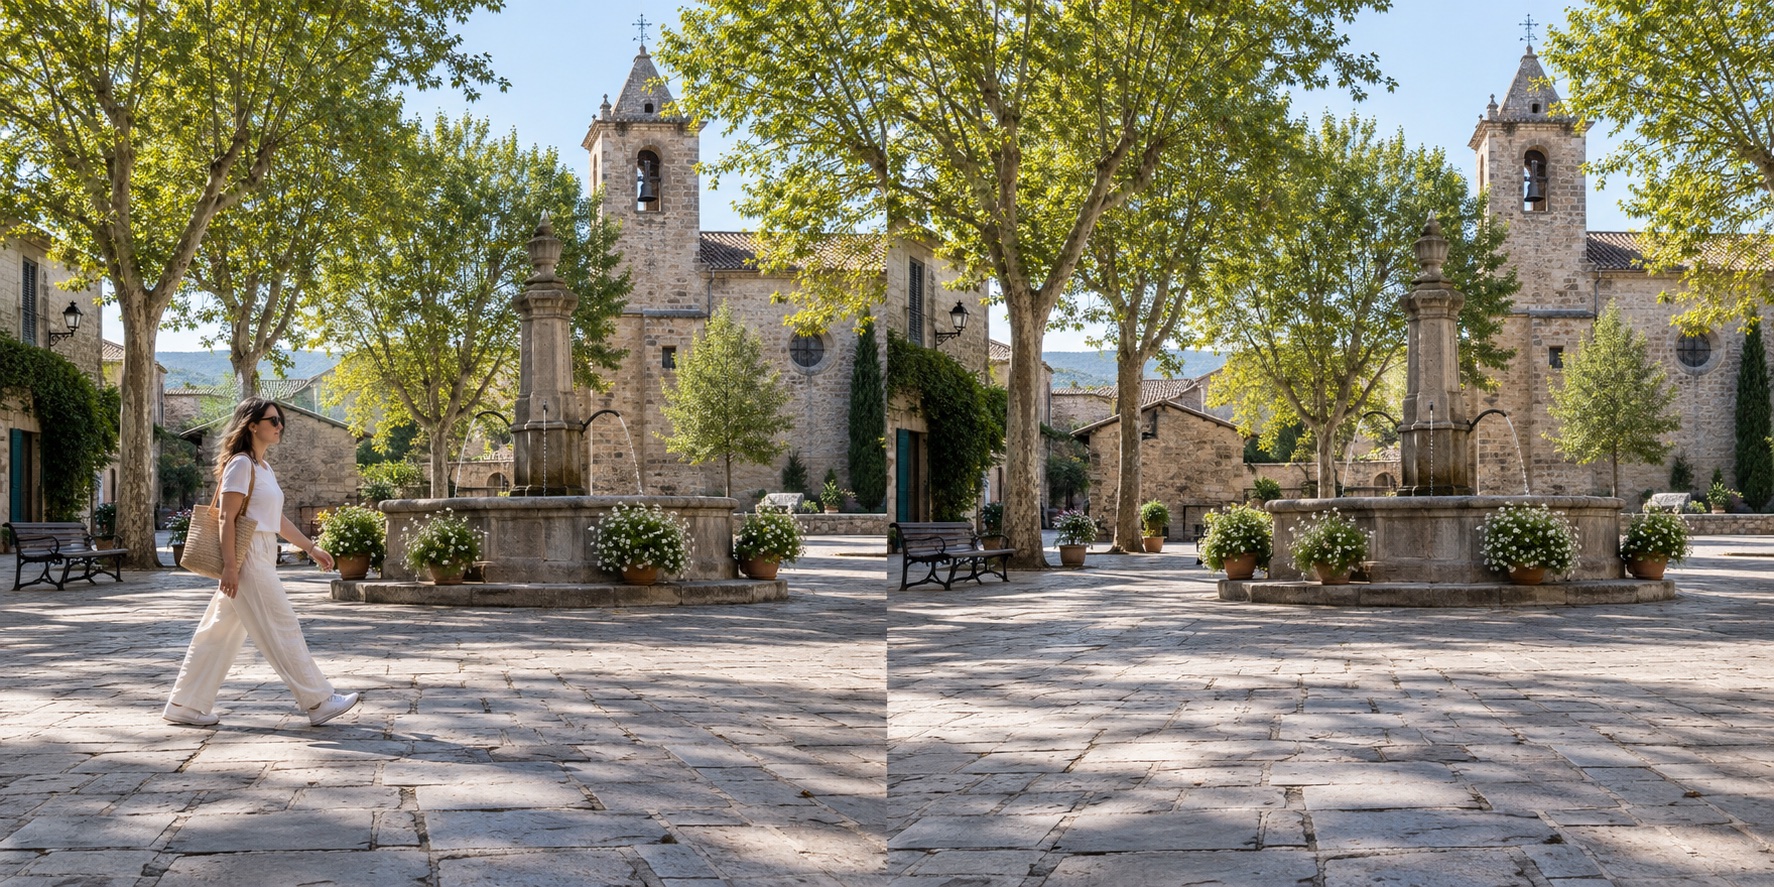 Illustrative concept
Describe a person to remove while preserving the rest of the scene.
Explore pageIllustrative concept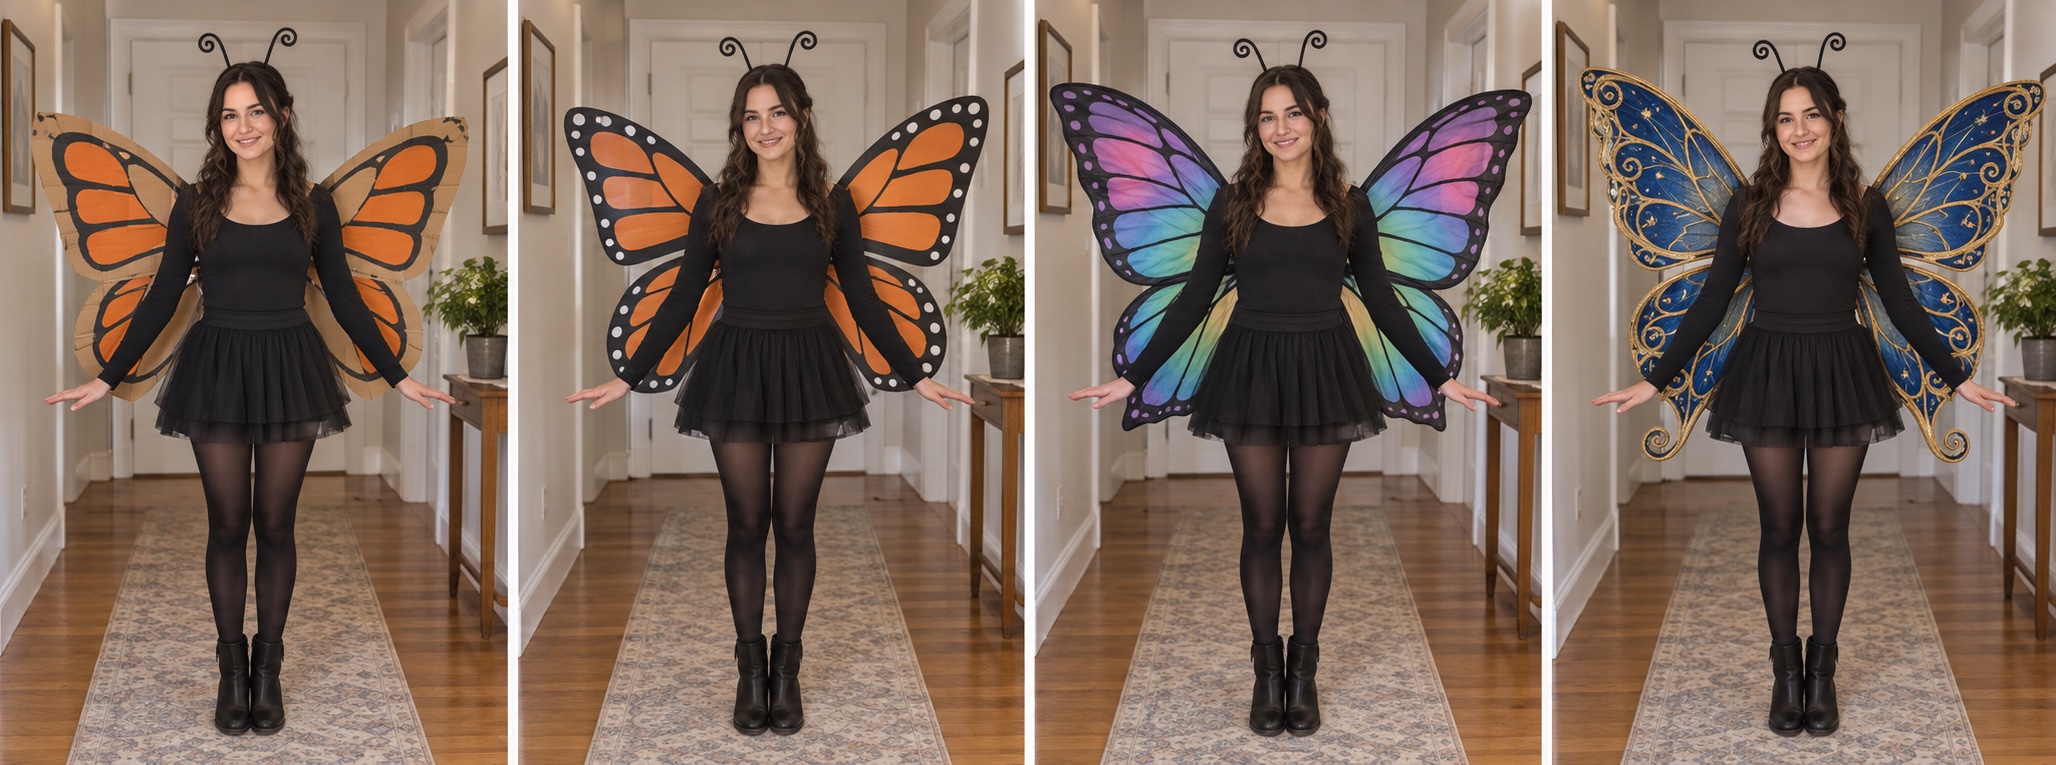 Illustrative concept
Create the playful AI costume reveal with three guided edits and your original photo.
Explore pageAI photo editing tools are easier to use when you choose a specific outcome before writing a prompt. A crowded background, a distracting object, flat portrait light, and an unhelpful product setting are four different problems. Each needs different preservation rules. Look at the original image and write down what the viewer should notice first, what may change, and what must remain accurate. That short brief is more useful than a long list of style words.
If the location is wrong but the subject is good, explore a background change. If a small item pulls attention away, consider object removal. If the portrait feels harsh, begin with light and color rather than a new face. If a product needs a better setting, keep its actual label, proportions, and finish fixed. Each linked page above includes a sample instruction and a review checklist for that workflow.
A good edit request identifies the target, the desired change, and the limits. For example, “replace the grey wall with a warm ivory studio wall, keep the product label and shape, and match the shadow to light from the left” is clearer than “make this professional.” The first version still needs testing, but it gives you concrete features to inspect. Avoid asking the model to improve everything at once; broad prompts make unwanted changes harder to trace.
Choose a source with enough resolution to examine fine details. Unclear edges, unreadable lettering, motion blur, and severe crops cannot be fixed reliably by wording alone. Keep the original file. If an edit fails, you can return to the source and try a smaller change instead of building on an already altered image.
Before sharing an edited image, compare it with the source at full size. Look for changed faces, distorted product labels, repeated patterns, broken perspective, shadows that do not connect, and surfaces with unnatural texture. The most important checks depend on the use: identity for portraits, product truth for commerce, and scene accuracy for documentary images. A visually polished output can still be unusable for its purpose.
The illustrations and diagrams here explain the workflows. They are not verified before-and-after results. Real editing is available only when a compatible image model has been connected. Even then, prompt wording guides rather than guarantees the result. Save or publish only after reviewing the actual output carefully and checking your rights to the source image.
The best choice also depends on the image’s role. A personal post can tolerate a creative interpretation; a catalog image needs exact product details; a documentary picture needs care with the scene itself. Decide those limits before editing. They make it easier to reject a beautiful result that gives the viewer the wrong information.
Pick the smallest change that solves the photo’s main problem. A subtle light adjustment or one removed distraction is easier to evaluate than a complete scene transformation.
No. A concise instruction with clear constraints is often easier to review. Add detail when it identifies the subject, lighting, background, or protected features; remove adjectives that do not change a decision.
Do not use that output. Return to the original, state the protected detail more clearly, and try a narrower request or a tool with manual selection. For a portrait or commercial listing, human review is essential.
The visuals here are original design concepts and diagrams, not outputs from a connected model. These workflows become usable when a supported model is configured. We will only publish real before-and-after examples after checking output quality and image rights.